ISO Illuminated
Learn about final piece of the exposure Trio; Iso
Workshop Summary:
In this third workshop, you'll master the final piece of the exposure puzzle: ISO. We'll start by locating the ISO setting on your specific camera model, so you know exactly where to find it and how to adjust it confidently. You'll learn what ISO really does—how it controls your camera sensor's sensitivity to light— using the light meter and when to use different ISO settings to achieve perfect exposure.
Through hands-on practice with your own camera, you'll experiment with ISO in various lighting conditions and discover how it impacts your images. You'll understand the balance between the three exposure controls (aperture, shutter speed, and ISO) and learn when Auto ISO can be your friend.
By the end of this session, you'll confidently know where to find ISO on your camera and how to use it creatively to capture great photos in any lighting condition. This completes your understanding of the exposure triangle, giving you full creative control over your photography.
Topics Covered:
Finding and adjusting ISO on your camera
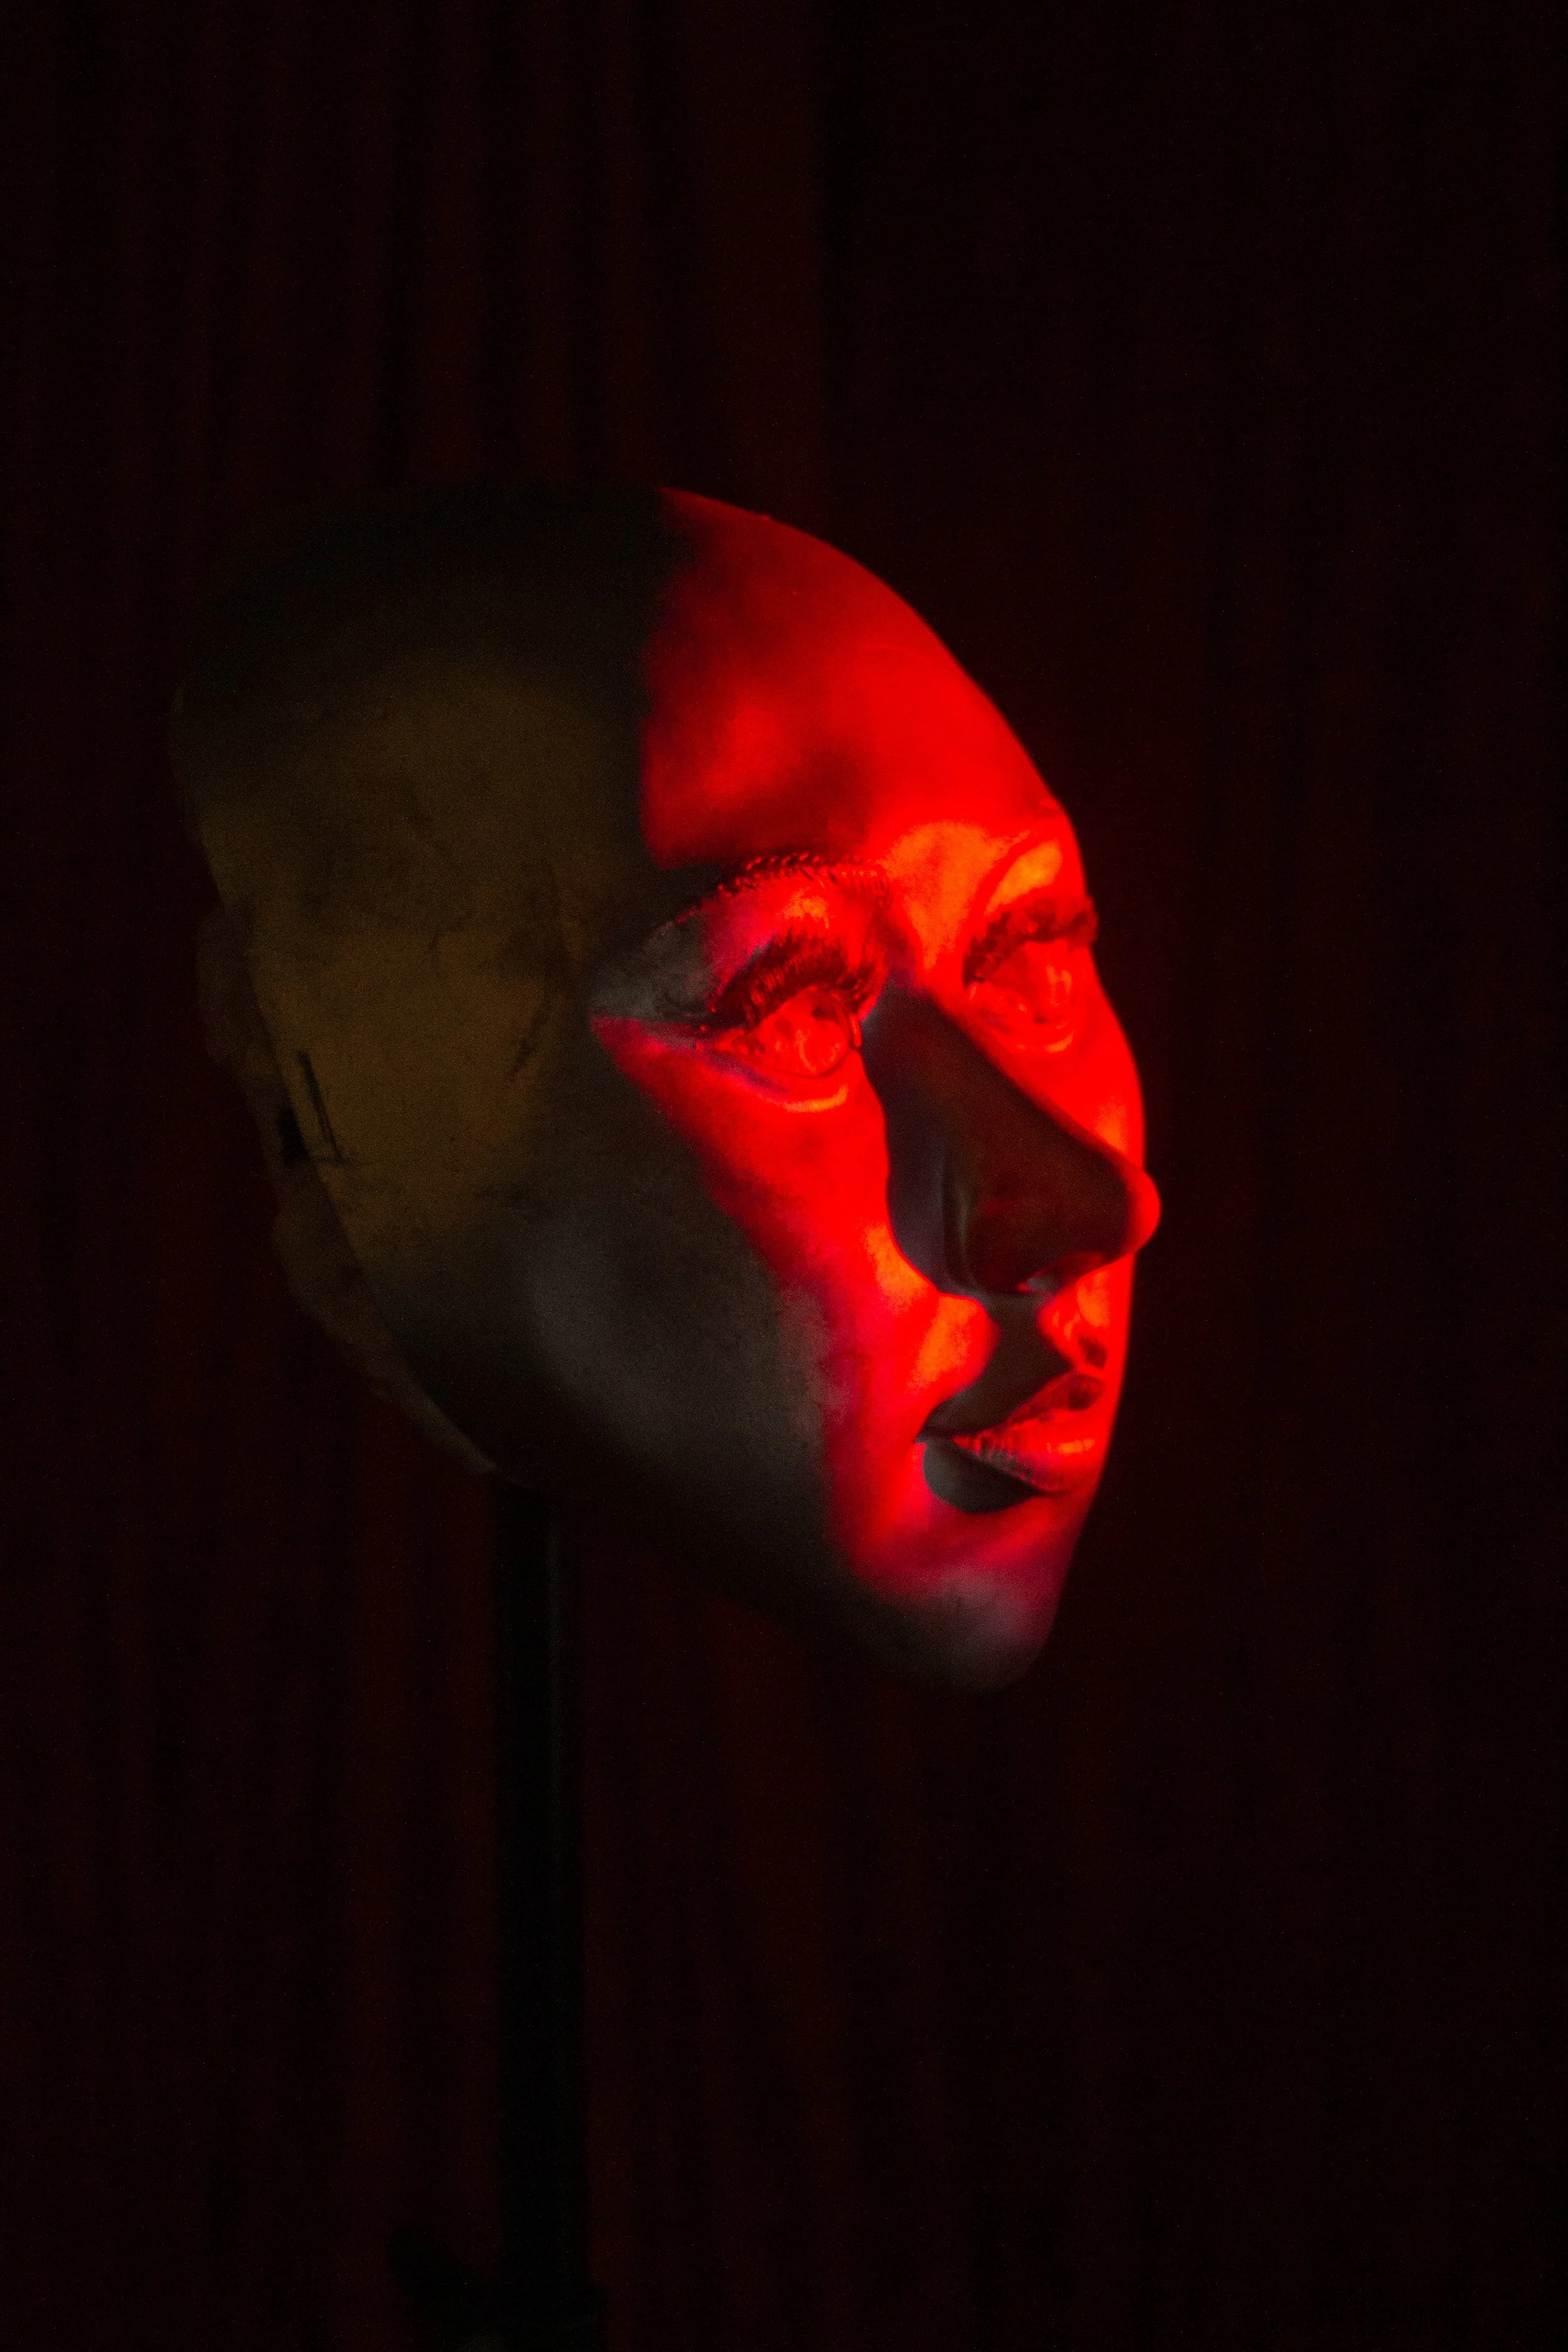
Understanding ISO sensitivity and how it affects exposure
Balancing ISO with aperture and shutter speed
When to use Auto ISO versus manual control
using the light meter and the different light metering settings on your camera
Recap: Discuss aperture experiments and review how F-stop, shutter speed, and ISO work together
Featured Artist: Oswaldo Cepeda - A photographer who embraces high ISO and digital noise as part of his distinctive style, showing that technical "flaws" can become creative strengths